GET STARTED
Step-by-step instructions to install your TPS AIR PUMPS
Swindell Bleeder Assembly

Install 3rd quick disconnect port in rear wheels.
Remove Swindell battery holder cap.
Remove threaded reducer insert for battery cap screw with #1 screw extractor.
Attach Swindell bleeder to TPS AIR PUMP using supplied 1/4”-28 screw and battery cap adapter.
Locate notch on TPS AIR PUMP battery cap adapter.
Mark a line on bleeder from notch to front of bleeder.
Remove bleeder from assembly. Mill approx. 3/16” X 3/16” groove in bleeder along marked line for Willy Willy air line path.
Reinstall bleeder to TPS AIR PUMP battery cap adapter using same method.
Push ON/OFF button to start pump operation. Switch will light when on.
Insert TPS AIR PUMP / Swindell assembly in axle.
Vinyl electrical tape should be wrapped around battery cap for proper fit in axle.
Secure bleeder/TPS AIR PUMP assembly in axle using Swindell bleeder hold pin.
Connect TPS AIR PUMP air line to 3rd quick disconnect port.
Air will begin to be introduced into tire. Bleeder will maintain desired air pressure.
Remove two Allen screws at end to remove battery for charging.
2 – 1/4”-28 to 6-32 screw inserts are provided for non-TPS AIR PUMP use.
Conroy Bleeder Assembly

Install 2nd quick disconnect port in rear wheels.
Drill 2 – 3/16” holes at axle flange end (12:00 and 6:00) for provided Willy Willy C-clip holder. (or use current method to secure bleeder)
Remove outer O-ring from Conroy bleeder.
Thread TPS AIR PUMP air line through Conroy bleeder slot. Attach supplied “push to connect” fitting.
Attach bleeder to TPS AIR PUMP using 3 provided M3 X 1” screws and washers.
Push ON/OFF button to start pump operation. Switch will light when on.
Insert TPS AIR PUMP assembly in axle tube until flush with front of bleeder.
Vinyl electrical tape should be wrapped around battery cap for proper fit in axle.
Secure assembly in axle by attaching provided C-clip into previously drilled 3/16” holes securing clip ends in first O-ring groove.
Connect TPS AIR PUMP air line to 2nd quick disconnect port.
Air will begin to be introduced into tire. Bleeder will maintain desired air pressure.
Remove two Allen screws at end to remove battery for charging.
FAQS
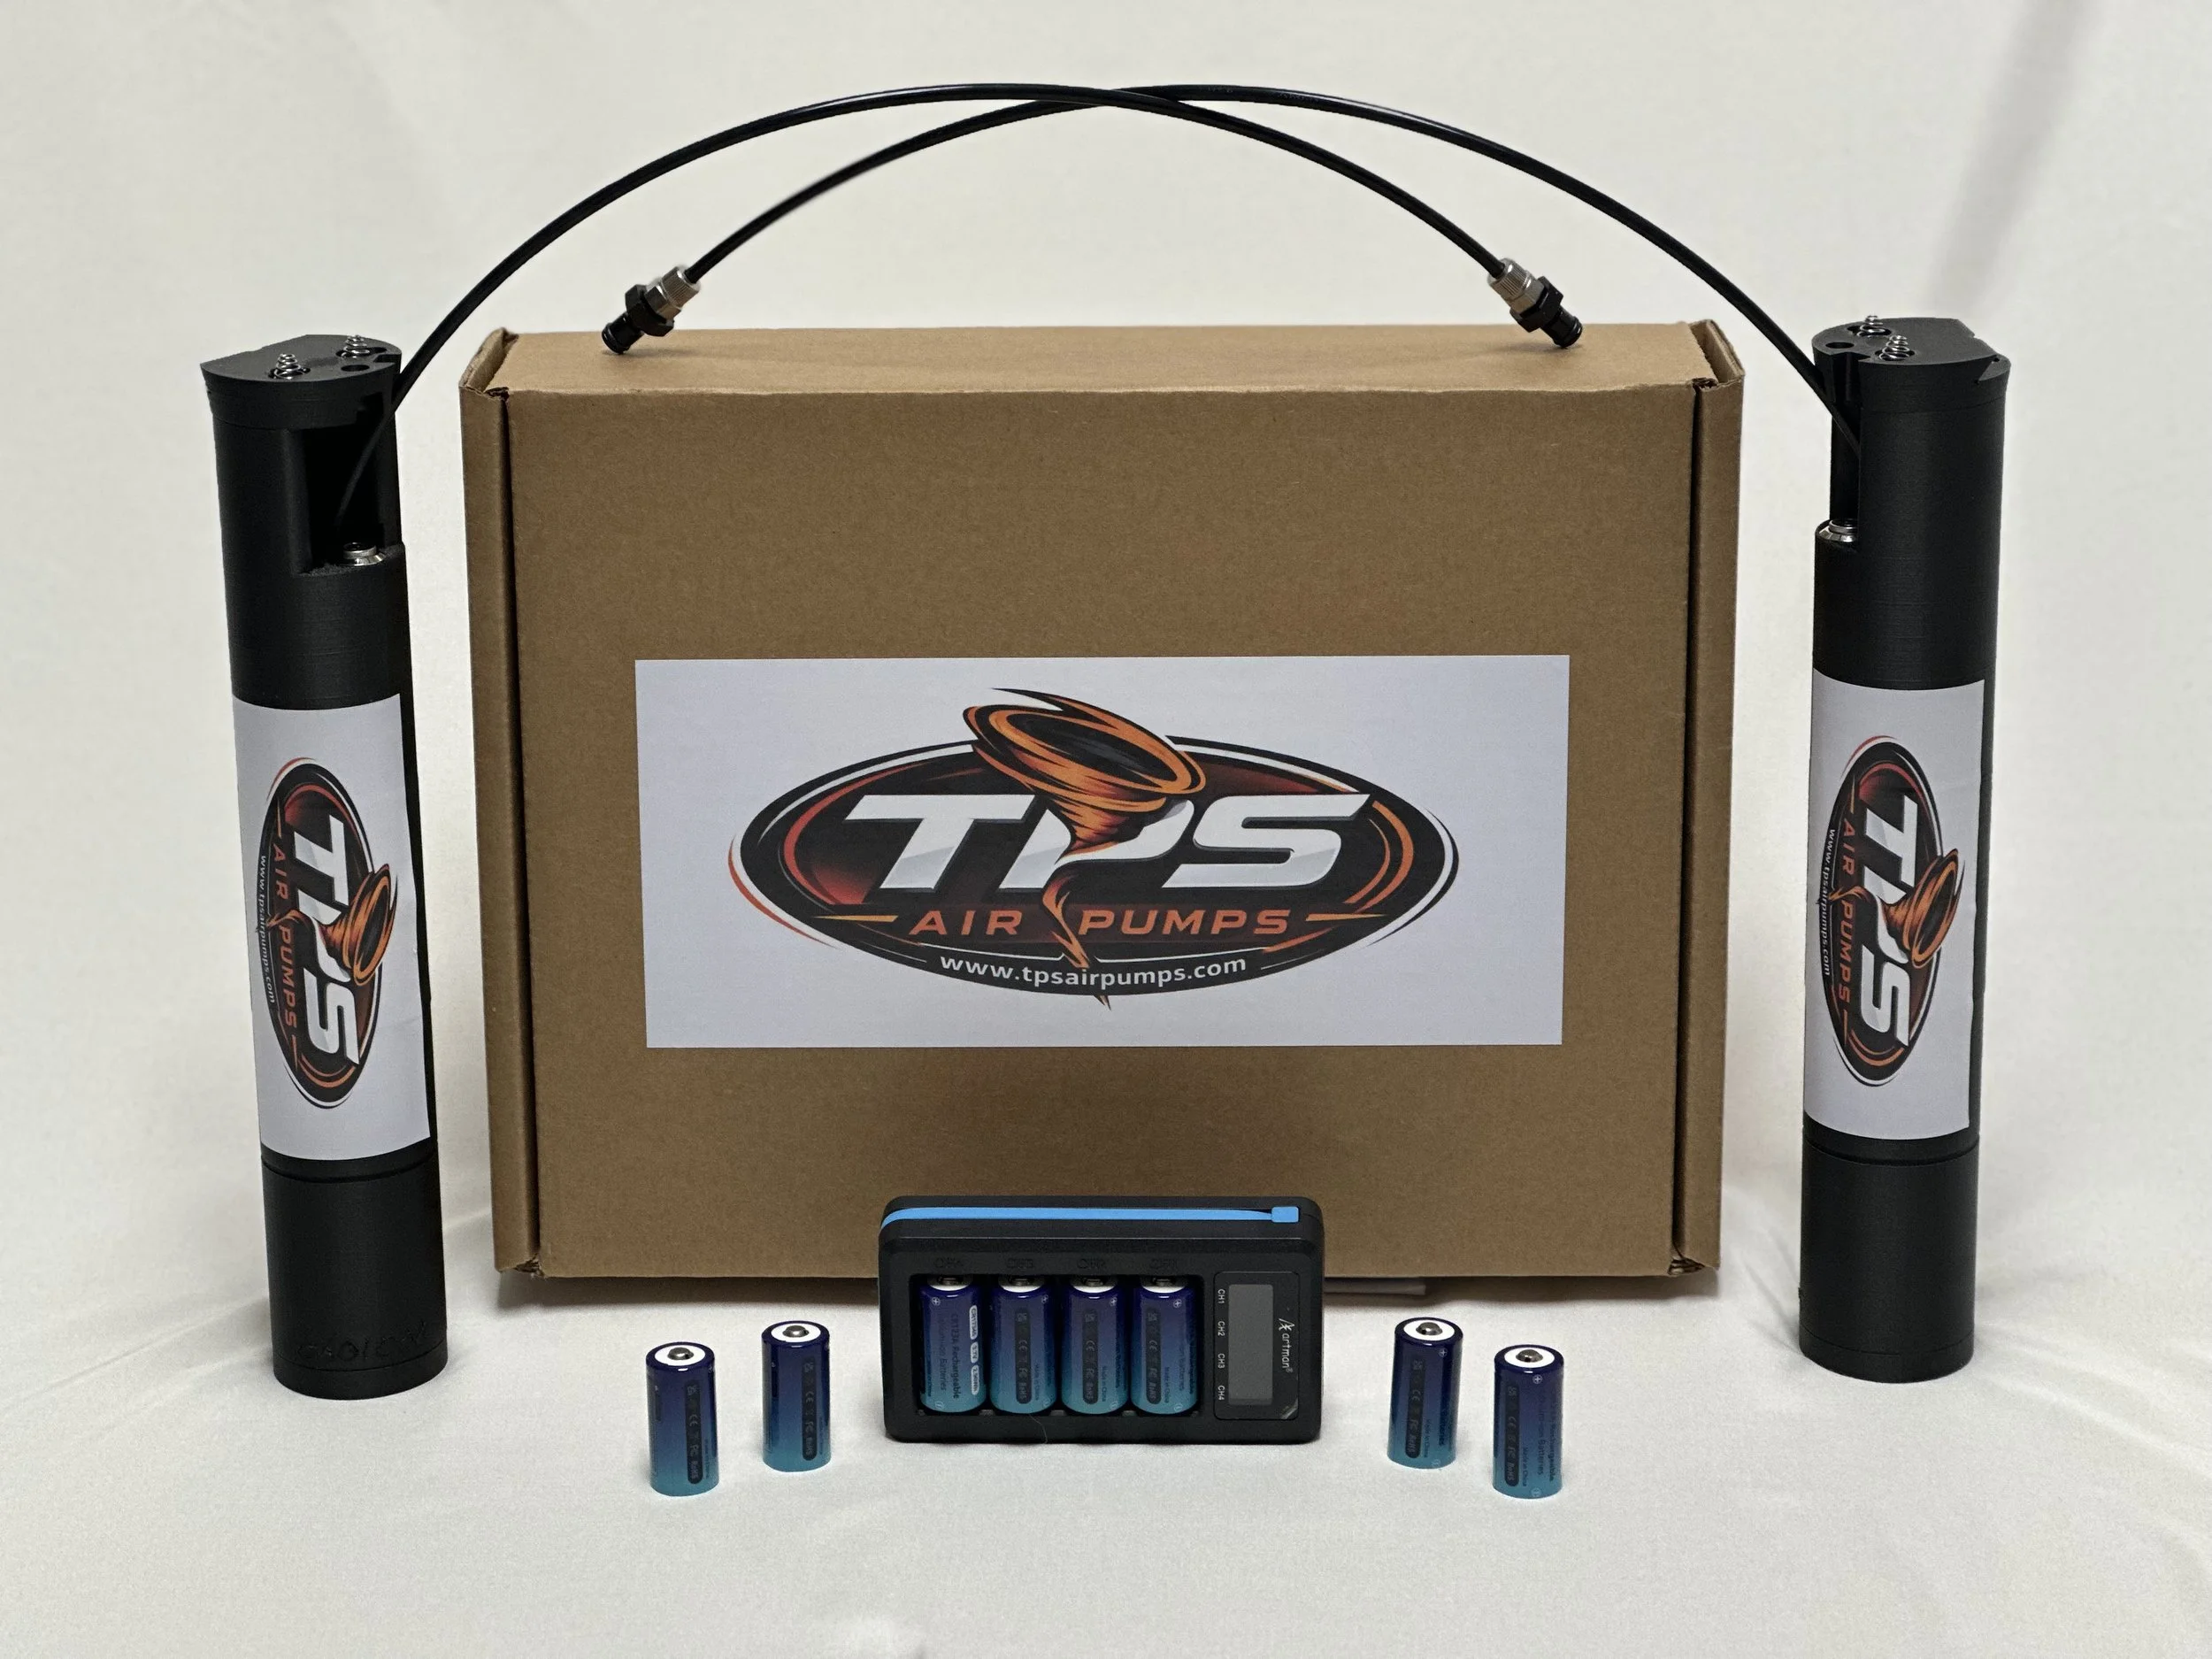
TPS AIR PUMPS
-
-
Swindell type:
2 - TPS AIR PUMPS with Swindell adapters, air lines and quick disconnect fittings
8 - 3.7 volt rechargeable batteries
1 – 8 port 3.7 volt DC battery charger
1 – #1 screw extractor
2 – 1/4”-28 to 6-32 reducers
2 – 1/4”-28 X ½ adapter screws
1 – 2.5mm hex wrench
Assembly instructions
Conroy type:
2 – TPS AIR PUMPS with air lines and quick disconnect fittings
8 - 3.7 volt rechargeable batteries
1 – 8 port 3.7 volt DC battery charger
6 – M3 Conroy attachment screws
6 – M3 lock washers
6 – M3 flat washers
1 – 2.5mm hex wrench
Assembly instructions
-
the 3.7 volt 800mAH batteries should last approximately 3 hours continuous running between charges.
-
Max air pressure: +/- 700mmhg (15psi) at 4.0 lpm
-
The TPS AIR PUMPS are legal to use in the High Limit Series, NARC series and many regional Sprint Car Series. Check your local rules.
-
$1,350.00 plus tax and shipping.
-
These are currently being developed.
-
10.25” long X 1.70” diameter.
Willy Willy Tire Pressure stabilizers will fit in all standard size sprint car axles and larger.